Thursday, April 26, 2012

Mango Chicken with Cashews


I am OBSESSED with this dish.   Like, eat it for 3 meals straight and then call all of your friends and family to tell them about it, obsessed (sorry Mom).  I might even go as far as saying it tastes better than any mango dish I have had in a Thai restaurant, and way better than most take out food.  I made this last week, and have plans to make it again this evening it is that good!

Fresh mango is the base of this dish.  Mango is sweet, delicious, prevents cancer and is loaded with vitamin A and C.  For this dish you simply add mango to a few other asian kitchen staples, and process in a food processor.  I couldn't believe how easy it is to make such a tasty sauce.  Next the sauce is heated stove top with chicken and red/yellow bell peppers.  Cashews top this dish and really take it to the next level.  Trust me.   


Mango Fun Facts & Trivia

• Mangos are distantly related to a few plants that you'd probably never guess: the cashew and pistachio. 
• More fresh mangos are eaten every day than any other fruit in the world.
• India grows more mangos than all other fruits combined and is the largest producer in the world.
• A mango tree can get as tall as 100ft.
• Monkeys choose to eat the seed from the green mango. Ayurvedic healers suggest that it is the seed that gives the monkey its energy and powerful strength to jump in the tress {pretty cool}.
• According to Indian folklore, Buddha was given a mango orchard by a faithful follower so that he could rest in its cool shade. Many believe that Buddha meditated under a mango tree!  {of course he did!  I would too}

If you're now craving a mango or looking for new ways to cook up chicken, give this a shot!

Ingredients

2 ripe mangos (peeled, seeded)
1 tbsp sweet chili sauce
1 tbsp rice vinegar
3 tbsp light soy sauce
2 tbsp fish sauce
1/2 lime (juiced)
1 tbsp brown sugar
1 thumb length of fresh ginger (peeled and grated)
3 cloves garlic (chopped)
1 handful cilantro (chopped)
1 tablespoon peanut oil
1 pound chicken breast (sliced into bite sized pieces)
1 red bell pepper (sliced)
1 yellow bell pepper (sliced)
1 handful cashews

Method

Mix the mangos, chili sauce, vinegar, soy sauce, fish sauce, lime juice, brown sugar, ginger, garlic and cilantro in a food processor.  If you don't have one, invest in one, ask for one for your birthday, etc.  They make cooking so easy!

Taste the mango sauce and make sure that there is a balance of sweet, sour, spicy and salty.  Heat oil in a pan.  Add the chicken and saute until cooked.  Add the mango sauce and peppers and simmer until the peppers are tender.  Remove from heat and serve on brown rice topped with cashews.  Bon Appétit!

Mango Fun Facts from http://www.mango.org/

Sunday, April 22, 2012

Rosemary Asiago Cheese Bread {Whole Wheat}


Why would anyone want to bake their own bread?  That's crazy.  People who bake their own bread are weird I used to say.  Mind you, I am not a baker - at all.  I don't consider myself skilled in cakes, pies or pastries.  Now, after discovering how easy it is to make my own pizza dough, I felt courageous enough to give a loaf a bread a shot.  So fun!  And I was delighted to find it also pretty easy.  This bread is dense, yet full of flavor.  I love the idea of being able to control exactly what goes into your bread, no preservatives, or crazy unrecognizable ingredients.

This week, I was encouraged to give baking bread a shot by the Food Matters Project.  I love, love, love being a part of such a food conscious, healthy yet creative group of food bloggers.  For those unfamiliar, every week a fellow blogger chooses a recipe from Mark Bittman's Food Matters Cookbook, and over 40 bloggers take to their kitchens to create recipes inspired by that week's selection.


Real Whole Wheat Bread was this week's recipe chosen by Melissa of The Faux Martha.  When I'm at Whole Foods, I sometimes can't resist picking up a fancy loaf of bread with cheese in it.  So of course my take on the recipe involves cheese!  Fresh rosemary is also a obsession of mine.  So good!

Ingredients

3 cups whole wheat flour
1/2 tsp active yeast
2 cups freshly grated asiago cheese, 1/2 cup reserved
1 tsp of fresh rosemary
1/2 tsp Italian seasoning
1/2 tsp extra virgin olive oil
1/2 tsp salt
1 3/4 cup water

Method

In a large mixing bowl, mix together flour, yeast, salt, rosemary, Italian seasoning and 1 1/2 cups asiago cheese.  Add 1 3/4 cups water (I used room temperature water) and stir until blended. The dough should be wet and sticky, but not liquid.  Cover with plastic wrap and let sit on your counter for 18 - 24 hours.  Try to give it the full 24 hours for the best taste!

Grease a metal baking sheet pan with olive oil.  Place the dough on the sheet.  With a sharp knife, gently cut a large X into the top of the dough.  Brush the dough with the remaining oil and sprinkle with reserved asiago cheese, use from 1/4 to 1/2 cup.  {I won't judge you if you use a full 1/2 cup, go ahead, do it!}  Top with extra rosemary.  Cover with a towel and let the dough rise again for about an hour or two.

Preheat the oven to 350 degrees. Bake the bread for about 45 minutes until it is golden and sounds hollow when you tap on it. Immediately place bread onto a cooling rack and let it cool before slicing.  This tastes amazing on its own, with a little bit olive oil, or with some hot soup! Enjoy!

Friday, April 20, 2012

Roasted Maple Cinnamon Almonds


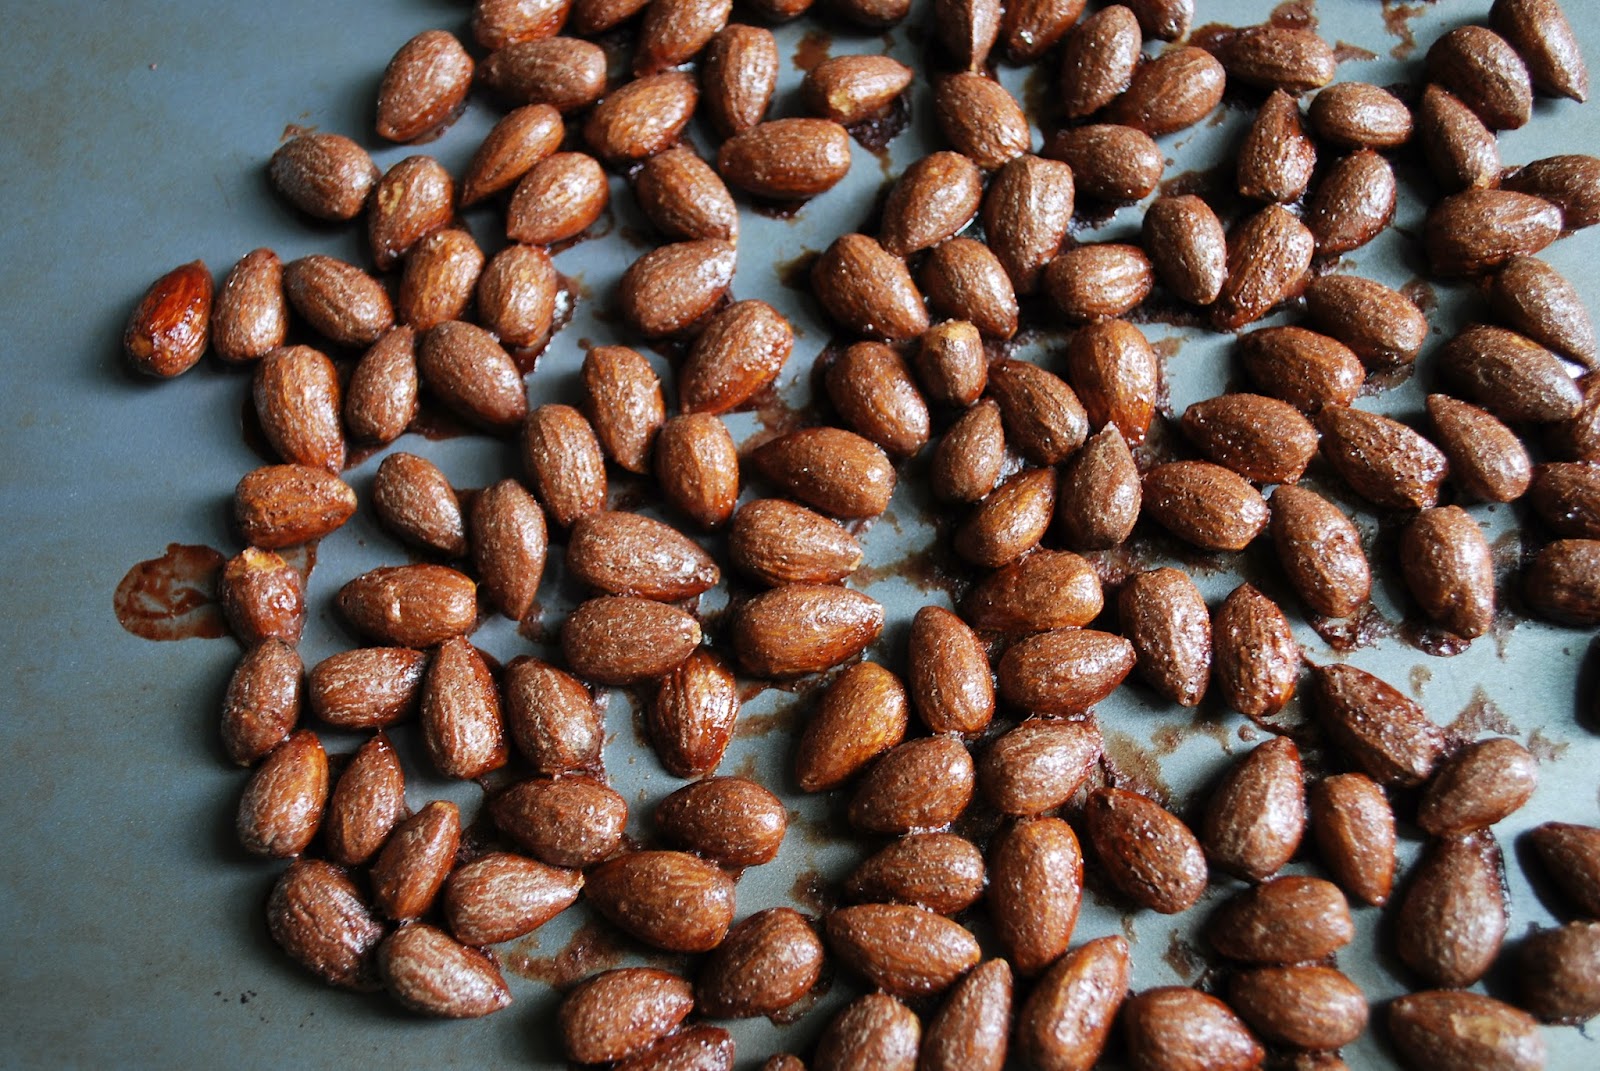
Lately I have had all these things I "need-to-do" floating around in my brain.  They are starting to build up.  Things like, buy batteries, groom puppy, clean out closet, plant basil plant... try making my own spiced almonds.  Nothing earth shattering.  But things I really want to do, things that I have been putting off for days, weeks!  Last night hopped up on vanilla iced coffee, I decided to take action and just do.  I accomplished all of the above, including homemade maple cinnamon almonds!!  It felt so good to commit an evening to just knocking things off my list.  My brain thanked me today, I slept better last night, and now I have a yummy snack for the weekend :)


Almonds are really good for you.  We all know that, so I try to always keep some around.  Regular almonds are okay on their own, but I have learned they taste wayyyy better when you add a few healthy natural toppings.  The first batch I tried I coated the almonds with just cinnamon and baked.  Not so good.  The second attempt, I added an egg white to the cinnamon and baked.  Not so good either.  Still hopped up on caffeine, I made a third attempt.  This time I mixed pure all-natural maple syrup {maple makes everything more exciting} with cinnamon, coated the almonds and baked.  These turned out sooo good.  I recommend you try these out!

 Ingredients

1 cup unsalted almonds
1 1/2 tbsp pure all natural maple syrup {don't use Aunt Jemina!}
1/2 tsp of ground cinnamon
a pinch of salt


Method

Preheat oven to 300 degrees.  In a small bowl, combine the maple syrup, cinnamon and pinch of salt with a fork/whisk.  Add almonds and coat them evenly.  Spread out almonds on a non-stick baking sheet and bake for 25 minutes, stirring every ten minutes.  Remove from oven and let cool.  Store these in an airtight container/plastic bag for a healthy portable snack!  Enjoy!


And just for kicks, here is a picture of Charlie Bear, groomed :)

Tuesday, April 17, 2012

Mostly Whole Wheat Pizza Dough


Making your own pizza dough is really fun.  It's inexpensive, healthy and this recipe by Mark Bittman is extremely easy.  I found it to be extra fun because the smells of raised dough brings back many memories.... I have to admit something... my very first job in high school was working at Chucky Cheese's.  Don't laugh.  Of course the girl who used to work at Chucky Cheese, grows up to write a blog called Cheese Please :)  At Chucky Cheese I not only was a birthday party planner, I also made the pizzas in the kitchen!  I absolutely loved it.  Anyways, having fresh dough in the house made me think back to those days and laugh. 

Putting aside my cheesy past, this recipe is for you if you ever felt that making your own pizza dough would be hard.  That's what I always thought, but when Niki from Salt & Pepper choose it for this week's recipe for The Food Matters Project, I put my trepidations aside.

The dough is 2/3 whole wheat flour and 1/3 all purpose flour.  Other than that you just need salt, olive oil and a tiny bit of active yeast.  Side note: Active yeast is sold in a little packet found in the baking aisle of any grocery store.  I tell you this b/c I had no idea where you buy it, this was my first time! I combined all of these ingredients in the morning, and later that evening I made a pizza.  Easy breezy!  Mix, leave alone, roll out, top with ingredients.  That's it!


I decided to top my pizza with fresh mozzarella and my favorite simple ingredients.   (Make sure you buy halfway decent quality mozzarella, the cheap stuff isn't the same).  I probably could of added more veggies, but since it was my first time, I was worried about overloading the pizza and not have the dough cook through.  I also added some fresh basil from a plant that I recently bought.  Simple, yet delicious.

Ingredients
makes 1 large or 2 small pizzas

2 cups whole wheat flour
1 cup white whole wheat flour, or all purpose flour
1/2 tsp instant yeast
1 tsp salt
2 tbsp olive oil, plus more for greasing

marinara sauce (I used a jarred garlic-olive oil marinara)
toppings (I used green peppers, onions, and mushrooms all sliced very thin)
fresh mozzarella, thinly sliced
fresh basil
dried oregano

Method

Combine the flours, yeast, and salt in a large bowl. Stir in 1 1/2 cups water (I used warm water and also added in 1 tbsp olive oil).  The dough should be relatively sticky and wet, like biscuit batter.  If not, add a little more water.

Scrape down the sides of the bowl, cover, and put it in a warm spot. Let the dough sit for at least 6 or up to 12 hours. (The longer it ferments, the more complex the flavor.)

When you’re ready, heat the oven to 500 degrees. If you have a pizza stone put it in the oven at the same time so it can preheat as well. If not, generously oil a baking sheet or large ovenproof skillet. Dust your hands with a little white flour and fold the dough over in the bowl a few times. It will be sticky, but resist the urge to use too much flour; dust your hands again only when absolutely necessary and use a light, gentle touch. If you’re making small pizzas, divide the dough in half or quarters. Gently press the dough into the skillet or onto the baking sheet; it’s not important that the pizzas be perfectly round.  This dough tastes best when rolled out as thin as possible!!  But be careful not to tear the dough.  Note that pizza dough freezes really well; after dividing it, just wrap it tightly and use it within a couple of months.

Brush or drizzle the top of the pizza or pizzas with 2 tablespoons oil, cover, and let sit while you get your toppings together, but no more than 60 minutes or so.

Top with your favorite toppings and cook for 8-12 minutes.  Have fun and enjoy!


P.S, Kate (of Cookie + Kate, one of my favorite blogs, and one of the founders of The Food Matters Project) has been nominated for Best Cooking Blog in the Saveur Best Food Blog Awards of 2012! You should check her out and give her a vote if you have a moment!

Thursday, April 12, 2012

Roasted Red Pepper, Portabella and Smoked Gouda Grilled Cheese


Do you ever go through a period of time where you don't feel like cooking?  I love, love, LOVE to cook, but frankly I haven't been able to pick up a spatula, turn on the oven, or even shop for ingredients.  My husband has also been out of town in LA for work.  When he's away my dinners tend to be, well quite frankly, childish.  Bowl's of cereal, candy and cheese and crackers all of sudden count as meals.  I'm not complaining, but I do find my choices amusing.  After 3 days I found myself hungry and ready to graduate to almost grown-up food.  I started with grilled cheese (the kid part) but added roasted red peppers, portabella mushrooms and smoked gouda (grown-up ingredients). These ingredients taste amazing together!  My advice, roast your own red peppers!  It's pretty easy to do, and much tastier than the store bought ones.  Also try to find a good quality bread, I used a fresh locally made whole wheat loaf which really made a difference!

So in honor of National Grilled Cheese Month, try this combo out!


Ingredients
makes 1 sandwich

1 portabella mushroom, cleaned
2 red bell peppers (you'll have leftovers)
2 slices of whole wheat bread
3 or 4 slices of smoked gouda
1 tbsp of vegetable oil
1-2 tbsp of butter
Sea Salt
Freshly cracked pepper
garlic powder

Method

Pre-heat oven to 450 degrees.  Line a cookie sheet with aluminum foil.  Lightly brush each red pepper with a small amount of vegetable oil and season mushroom with salt and pepper.  Place both peppers and the portabella mushroom in the oven for 15 minutes.  Remove portabella mushroom from the oven, and turn the peppers with tongs.  Bake the peppers for another 15 minutes, rotate again, and bake for another final 15 minutes or until fully roasted.


Remove the peppers from the oven and immediately place them in a large ziploc bag.  Let cool for 15-20 minutes.  Remove peppers from bag, you should be able to peel the skin off each pepper with your fingers and a knife.  Slice into thin strips.  Also slice the portabella into thin strips.  Butter one side of each slice of bread.  Assemble sandwich by adding your desired amount of portabella strips and then roasted red pepper strips.  Sprinkle with salt, pepper and garlic powder. Top with the sliced gouda cheese.  Use a panini press or skillet, and cook until the outside is toasted and the cheese is melted.  Happy National Grilled Cheese Month!

Friday, March 23, 2012

Adios! Vamos a Cabo San Lucas!

image courtesy of google
See you next week....  We're heading to Cabo! 

Cabo is a place us East coasters have always wanted to get to.  I can't wait to sip margaritas, get some sun, scuba, and eat as many fish taco's as I can get my hands on!  Ohhh, and the guacamole, can't forget about that :)

Monday, March 19, 2012

Curried Tomato Soup with Kale Chips

 
I am extremely hesitant to try any recipe with the word "curry" (meaning the Indian kind).  My experiences with Indian food and it's spices are extremely limited.  The first time was in Philly for a group birthday dinner.  I ordered some chicken and rice dish the waitress swore wasn't spicy.  She was so wrong!  All I remember is being hot, sweaty and knocking back like 6 glasses of white wine.   The second time we were vacationing in Thailand and a friend of ours encouraged me to try several Indian dishes at the resort we were staying at.  That went better because I had someone guiding me.  Anyone who knows good Indian food want to take me out next week?!?  I want to try to get to know Indian food but need some guidance!

I have however, gotten acquainted with turmeric lately.  And turmeric is the base of curry powder.  I recently read a bunch of articles and learned it is really, really good for the body.  And because of my hummus obsession, I have really gotten to know cumin.  Love that spice!  It dawned on me that these along with a few others make up curry powder, the one I have been fearing for years! 


This recipe for tomato curried soup is delicious and uses deconstructed curry powder (I used turmeric, cumin powder, ground coriander and a dash of cinnamon).  San marzano tomatoes and two types of potato provide a tasty base for an intense flavor.  In the end I used a immersion blender and pureed the soup which resulted in a thick,creamy sauce with a bit of a kick!  Serve with some crunchy good-for-you kale chips.

I am thankful that the Food Matters Project pushed my taste boundaries!  This week's recipe was chosen by Joanne of Eats Well with Others, and you can find other bloggers take on the recipe here.

Ingredients

1 tbsp extra virgin olive oil
1/2 of a yellow onion, chopped
1 tbsp minced garlic
1 tbsp freshly grated ginger
1 jalapeno pepper, minced
2 tsp turmeric
1 1/2 teaspoons ground cumin
1 tsp grounded coriander
1/2 teaspoon ground cinnamon
pinch of sugar
1 regular potato, peeled and diced
1 sweet potato, peeled and diced
1 13.5 oz can of light coconut milk
1 28 oz can san marzano tomatoes
freshly ground sea salt and black pepper
fresh cilantro, for garnish

1 bunch of kale (I used dinosaur kale)
extra virgin olive oil
freshly ground sea salt and black pepper

Method

In a large heavy bottom sauce pan, heat olive oil for until hot.  Reduce heat and add garlic, ginger, pepper and onions.  Cook for 2-3 minutes.  Add in potatoes, coconut milk, tomatoes and seasonings (turmeric, cumin, coriander and cinnamon).  Stir together, and bring to a boil.  Reduce heat and cook covered while occasionally stirring for about 20 minutes or until potatoes are soft.

At this point you can either use an immersion blender in the pot or transfer soup with ladle to a blender to blend smooth.  Or, you can serve it chunky which would also be delicious!  Top soup with chopped cilantro for an extra flavor boost and garnish.

For the kale chips:  Remove the center hard vein of each piece of kale with a knife and cut into smaller pieces.  Spray with a mister or lightly brush kale pieces with olive oil.  Sprinkle each piece with a tiny dash of sea salt and pepper.  Bake at 375 degrees for about 10 minutes.  Serve with soup and enjoy!


Like Cheese Please on Facebook!!

Thursday, March 15, 2012

Irish Cheddar Quiche with Guinness Caramelized Onions

 
Last year my St. Patty's day breakfast didn't go so well.  I woke up early to make my husband green eggs.  Yes, super cheesy, I know.  While I was cooking breakfast I accidentally knocked over the bottle of green food coloring which I cleaned up with the closest kitchen towel.  I sat it aside happy that I saved the counter-tops from an uncertain greenish future.   When my husband was showered and dressed, I excitedly "surprised" him with the green eggs.  He was over the moon.  Not so much.  But regardless, I made him smile with my quirky enthusiasm for St. Patrick's Day.

Here comes the bad part.  Just as he was walking out the door he washed his hands and grabbed a kitchen towel to dry them off with - the same towel fully saturated with green food coloring.  This resulted in dark green hands that wouldn't wash off!!  To top it off, he had an important early meeting he couldn't be late to, and certainty not have green hands at.  He called me at lunch time and told me the green dye still hadn't washed off.  He said he had to explain all morning why he had green hands - mind you, to a group of conservative big clients.  I felt SO bad.  Apparently they didn't have a sense of humor and an "I wrestled with a leprechaun" excuse wasn't going to fly.  (I thought that excuse was hilarious though).

So this quiche is food coloring free, yet still celebrates St. Patrick's Day!  This crustless quiche uses delicious Irish Cheddar (the Irish know cheddar, that's for sure), Irish potatoes, and a secret ingredient - Guinness caramelized onions.   And to still incorporate the color green, I added in fresh spinach and kale.  I highly recommend using healthy good-for-you greens, instead of the green food coloring. Lesson learned! :)


Ingredients

Don't these ingredients just scream Irish to you?
1 cup Irish cheddar, grated
1/2 large onion, sliced
1/3 cup Guinness
1/2 cup spinach, chopped
1/2 cup kale, chopped
1 small potato, diced
1/2 teaspoon salt
1/4 teaspoon freshly ground black pepper
3 eggs
4 egg whites
1/4 cup non-fat milk
parsley to garnish
extra virgin olive oil or cooking spray to coat pans

Guinness caramelized onions adapted from Closet Cooking

Method

Coat a large sauce pan with a little bit of olive oil or cooking spray.  Add onions over medium heat and cook until tender, about 5-7 minutes.  Add the Guinness to the pan, stir and cover.  Let cook for 15 minutes until liquid is absorbed.  While those are cooking, add diced potatoes to another greased pan, and cook over medium-low heat for 15 minutes.  Pre-heat oven to 350 degrees.

In a mixing bowl add eggs and egg whites and milk.  Whisk together.  Next, add in the cheese, onions, potatoes, kale and spinach.  Stir together and pour into a greased baking dish (I used a round pie dish).  Bake uncovered for 35 minutes, or until the top is golden brown.  Garnish with parsley.  Happy St. Patrick's Day!!!

Monday, March 12, 2012

Blood Orange Hummus


Over the weekend I was taking my puppy for a walk around the neighborhood, and was deep in thought of what to do with a couple blood oranges I picked up from the market.  I think about recipes most of the time I am walking the pup...  It's so nice to slow down for 30 minutes a day and enjoy being outdoors with an open mind.  I swear other than the unconditional love and cuddles, it is one of the best reasons to have a dog!  Anyways, as you know, blood oranges are only in season for a very short time of the year.  If you happen to see them, buy em quick!  For some reason this makes them extra luxurious in my mind... a rare gem of citrus fruits?  Maybe not, but I did want to do something special.

It was on this walk I decided to try to create a blood orange hummus.  I am a enormous fan of hummus, and knew that a basic recipe mostly always calls for lemon juice.  So why not replace blood oranges with lemons?  I was so delightfully surprised with the result.  I didn't have any tahini on hand, but I don't think it's essential with this particular take on tahini-free hummus.  I also added cumin, ground ginger, and little bit of tumeric for the pretty orange coloring and the health benefits.   The result was a union of spices that loudly comes together and complements the tangy blood orange juice.  This hummus is exciting, full of flavor and oh-so lovely.


The recipe was inspired by this week's selection for the Food Matters Project, which adapts recipes from the the Food Matters Cookbook.  This week's post is hosted by Erin from "Naturally Ella".  Check out with other bloggers did with Mark Bittman's "Hummus Served Hot" recipe here

Blood Orange Hummus

Ingredients

2 cup chick peas, rinsed
2 cloves of garlic
1/4 cup extra virgin olive oil
1/2 teaspoon of cumin, 
1/4 tsp turmeric
1/8 tsp ginger and paprika
salt and pepper
1 blood orange (about 1/3 cup juice)

From clockwise: paprika, cumin, tumeric and dried ginger
Method

For blood orange juice: roll orange with palm of your hand on a cutting board "loosing" the juices.  With a sharp knife cut the orange in half.  With both hands squeeze each half to release juice from pulp.  Be careful, the juice is blood red and can stain a porous wood cutting board (as I learned!).  Discard orange halves.  You should be left with about 1/3 cup of juice.  Set aside.

With a food processor, add chick peas, garlic cloves, spices and extra virgin olive oil.  Lastly add your blood orange juice.  Process until you have a smooth consistency.  Garnish with chick peas, paprika and a slice of blood orange.  Enjoy!


Saturday, March 10, 2012

Dark Chocolate Clusters


Last week my girl friend and I realized both of our hard working husbands would be out of town for business at the same time.  We immediately decided just like 17 year old girls that we needed to have a sleepover.  When you grow up you're still allowed to do that, right?  So my puppy and I packed up our things and headed up to Lake Norman for a girls' night of deep conversation, yoga, puppy snuggling and dark chocolate.  It also helps when your girlfriend lives waterfront on a lake!   I swear, driving 20 minutes north, out of the city was like I went away on vacation.  Also waking up to a huge expansive body of water is extremely relaxing...
image courtesy of google

So to thank my friend for having us at her home, I decided to whip up these easy and healthy, yet delicious, dark chocolate clusters.  Dark chocolate is melted over omega-3 rich walnuts and dried cranberries.  I made each cluster to be about 1 inch in diameter, which I think worked perfect.  Our Lake Norman host loved them, you will too!


Ingredients

1 lb dark chocolate (70% Cocoa)
1 cup walnuts
1 cup dried cranberries

Method

If you have a double boiler, melt the chocolate in that.  If not, MacGyver one up by boiling water in a sauce pan with a glass bowl sitting on top of it.  Place the chocolate into the glass bowl until fully melted. 

Remove the glass bowl from the sauce pan and place on a heat resistance surface.  Add the walnuts and dried cranberries to the chocolate.  Stir together.  Spoon mixture onto a cookie sheet lined with wax paper.  Transfer the cookie sheet to the fridge and let them set for at least 30 minutes.  Package in a small metal container to gift someone, or just enjoy straight from the fridge!

Thursday, March 8, 2012

Seared Bean Sprouts with Orange Zest, Chicken and Bok Choy


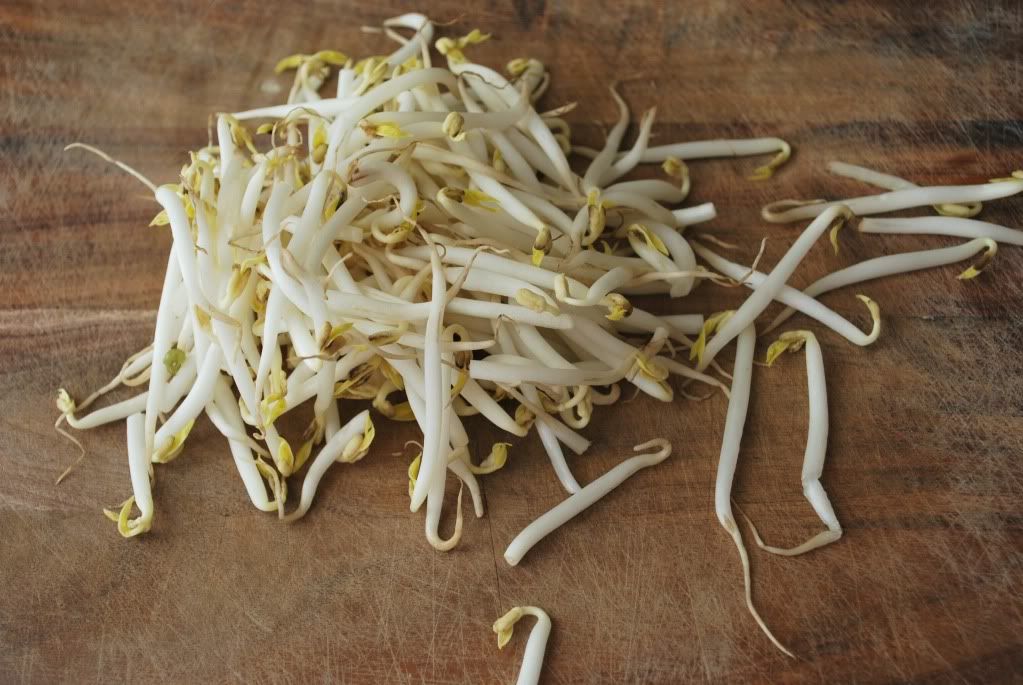
Bean sprouts are crazy good for you.  Did you know that?  Bean sprouts have all types of vitamins (A, B, C, D, E and K), folic acid, and a good amount of fiber.    In this dish they are complemented with a few of my favorite veggies and a light sauce that comes alive with oj, soy sauce and orange zest.  A pinch of crushed red pepper is added at the end to give it some subtle heat.  (I've been doing that a lot lately, why not?)

Bean sprouts aka mung beans are also a terrific source of vegetable based protein.  Which makes them perfect for the Food Matters Project.  This is my second contribution to the Food Matters Project, and I am really excited about it.  How cool is it to be apart of something like this?  Forgive me, I have turned into a huge healthy food nerd :)  Anyways, this recipe was selected from Mark Bittman's cookbook by Dominca at WineFoodLove.   Check out other food bloggers take on this recipe here!


Ingredients 

2 cups bean sprouts
2 tbsp peanut oil
8 oz chicken breast
2 tsp light soy sauce
1/4 cup fresh orange juice
2 tsp orange zest
1 tbsp honey
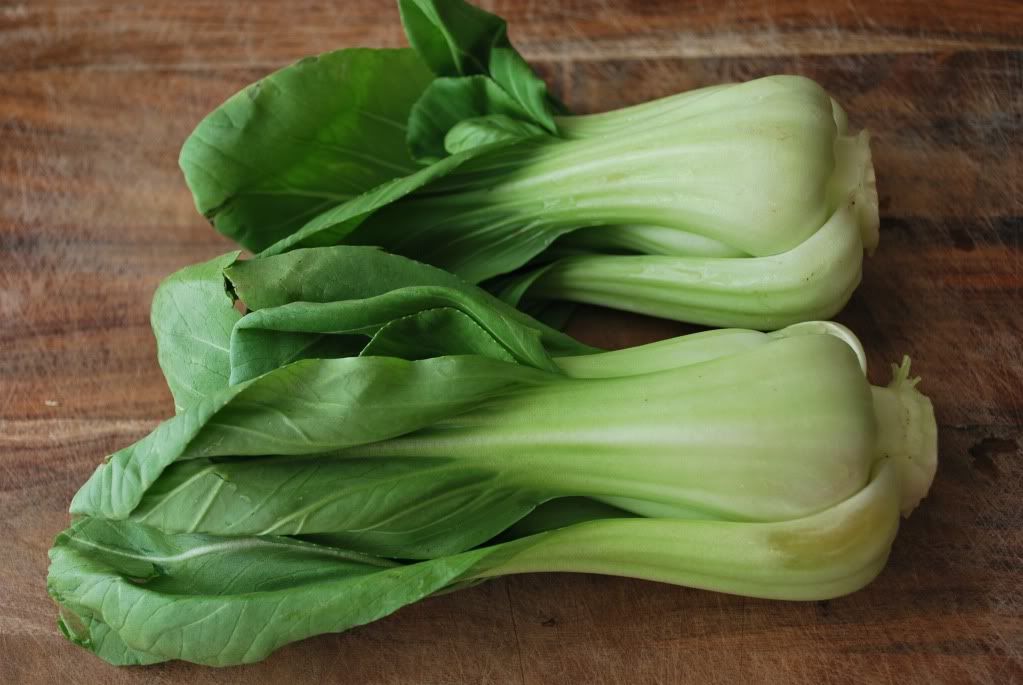
1 cup baby bok choy
1 cup slicked mushrooms
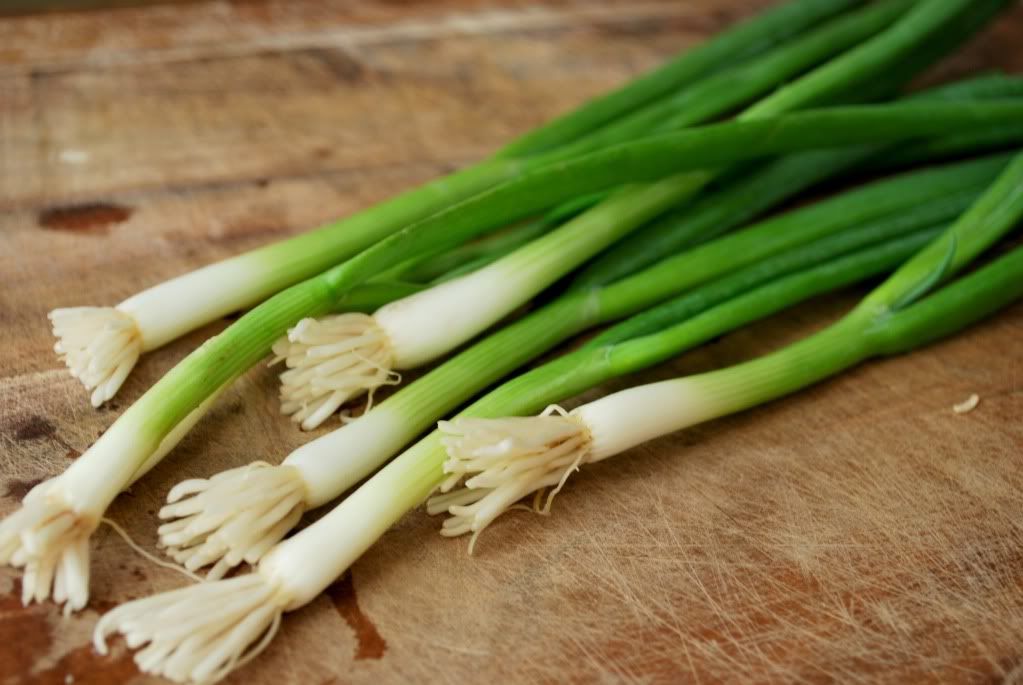
1 bunch of green onions
1/4 cup thinly sliced carrot sticks
1 cup brown rice
2 tsp fresh ginger, grated
few pinches of crushed red pepper

Method

Heat peanut oil in a large saute pan over high heat.  Add chicken breast, season with salt and pepper and saute over medium heat until inside is no longer pink.  Remove fully cooked chicken breast from the pan and place on a cutting board.  I find it easier to now cut the chicken into thin strips.

Add the other tablespoon of peanut oil to the pan and heat on medium high heat.  Add bean sprouts, green onions, bok choy, carrots and mushrooms.  Cook for 2-3 minutes.  Combine orange juice, honey, chia seeds, soy sauce, ginger and orange zest in a small bowl and add to pan.  Add chicken breast.  Stir together and cook for another 4-5 minutes.  Taste and add a few pinches of crushed red pepper for an extra zing!  Serve over brown rice and enjoy!

Saturday, March 3, 2012

Atlantic Cod with a Ginger Scallion Sauce

  
It may not seem like the most amazing sauce, but trust me, this sauce is ridiculous.  Ginger... scallions... I might even call it my kitchen's secret weapon.   And it only uses 4 ingredients.  I saw this recipe by Francis Lam on Gilt Taste and had to try it out.  Francis Lam knows good food.  He is a former editor for Gourmet.com, currently is the Features Editor at Gilt Taste, and he has a show on the Cooking Channel, Food(ography).

The really fun part of this sauce is you get to conduct a little science experiment in the kitchen.   Growing up, science was always my favorite subject.  I loved the idea of exploring the reactions of certain elements.  In this case, you heat peanut oil until it starts to smoke.  Then you pour the peanut oil into a tall pot that contains the other 3 ingredients.  What happens is a smoky, exciting, "volcanic" reactionThe flash of intense heat makes the ginger and scallions sweeter and rounder, and infuses it all through the oil.  Your result is a fresh, salty delicious sauce.  And the volcanic reaction is cool!

This sauce is extremely versatile and could also be paired with chicken, eggs, noodles - you name it.   I topped pan-seared Atlantic Cod with my new creation the other night.  Atlantic Cod is a super healthy source of protein, low in mercury and low in calories.  Any white fish though would taste delicious with this ginger scallion sauce!

Ingredients
makes a lot (a little goes a long way)

2 bunches of scallions, rinsed, dried
2 ounces of ginger, peeled and cut into chunks
1 cup of peanut oil, plus 1 tbsp
1/2 tsp table salt, plus more if needed

2 pieces of Atlantic Cod (for two people, you will have a lot of extra sauce, sauce could serve up to 8 servings easily)

Method

Heat one cup of peanut oil (you will want to use peanut oil for the flavor, but also its ability to heat to a very high temperature) on high heat until it starts to smoke. 

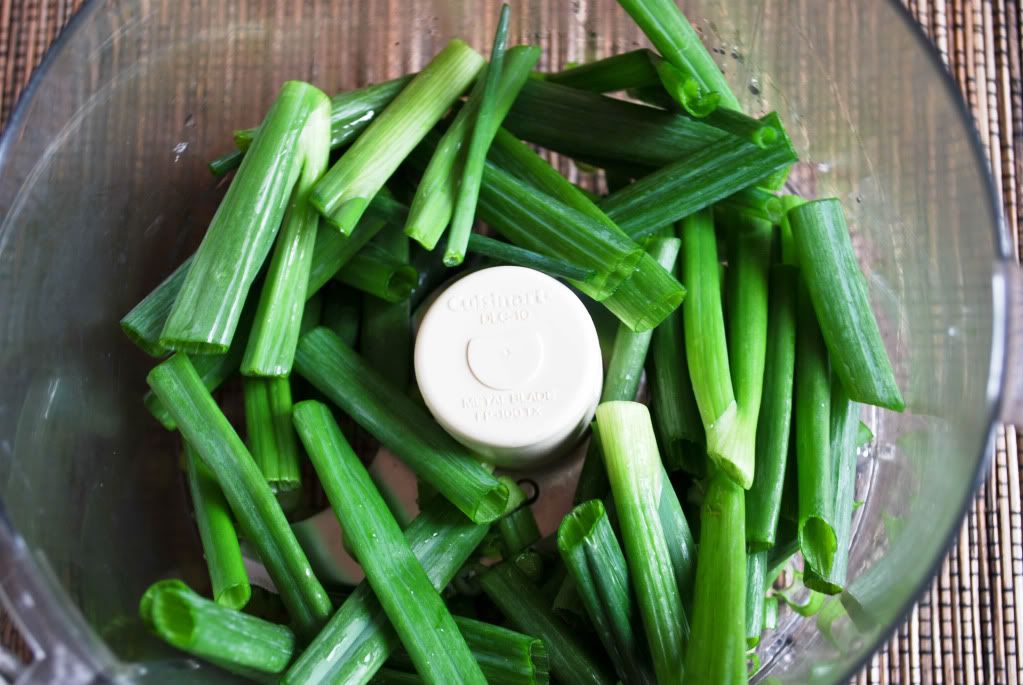
While the oil is heating, use a food processor to process the green scallions until they are finely chopped, but before they start to liquify.  Remove from processor and place in a large pasta pot.  (You will want something that is tall, much bigger than you think you would need)


Add ginger to your food processor and finely chop.  Add the processed ginger to your sauce pot.  Add salt.  Now here's the fun part.  (Be careful!!)  With oven mitts and your exhaust fan on high, pour the smoking peanut oil into the large pot.  Then stand back and let the oil flash fry the ginger and scallions.  After a minute, give the mixture a good stir and let sit for 15 minutes. 

Lastly, in a cast iron skillet, heat 1 tablespoon of peanut oil.  The skillet should be ready if you flick a drop of water into it and it sizzles.  Place your fish on the skillet for about 2-3 minutes depending on thickness of filet.  Flip over and cook for another 2-3 minutes till fully cooked through.  Top cod with the ginger scallion sauce and enjoy!


Follow me on Twitter! @CheesePlease531