Sunday, October 30, 2011

Pear, Arugula, Walnut and Parmesan Salad


Do you have a go-to salad for when you are entertaining?  My go-to salad is always an arugula parmesan combination.  I think that most people don't buy themselves arugula so it can be unexpected and delightful to serve guests.  There is something appealing about arugula's distinct peppery flavor that "tantalizes the tastes buds".  (Since I started this blog I have always wanted to say something "tantalizes the tastes buds" so there, I said it... about arugula no less!)  But I really do love it paired with a nutty, salty cheese such as good quality parmesan reggiano. 

This week I was trying to decide what to make for my parents who were going to be visiting from Maryland.  I decided to top my "go-to salad" with pears and toasted walnuts.  It was a great first course and everyone loved it!  For the entree I served the my Almond Crusted Chicken with a medley of rosemary potatoes.  We wanted to have a simple, healthy and relaxing meal at home in Charlotte before continuing on to Charleston for a weekend of southern foodie indulgence.  This salad, as it always does, hit the spot!  The addition of toasty walnuts pairs well with ripe barrlett pear slices.

Ingredients
Serves 4

1/2 cup walnuts
2 just ripe pears
4 oz arugula
2 oz parmesan, shaved
2 tablespoons extra virgin olive oil
1/4 cup lemon juice
Sea salt and freshly ground black pepper

Method

In a small pan, heat walnuts on medium heat for a couple of minutes until they are golden brown. Quarter the pears, remove the core and cut each quarter into thin slices.  Combine the pears, arugula, walnuts and parmesan in a bowl.  Plate and top with a drizzle of dressing.  Enjoy!


What's your go-to salad for entertaining?

Thursday, October 27, 2011

Spaghetti Squash with Chicken, Lemon & Basil


It had been raining non-stop for several days in Charlotte, and I think I was wishing for sunshine the other day as this recipe uses a lot of yellow ingredients.  I think it worked, because after I started cooking, the sun came out!  (I swear).   Anyways, I hadn't made spaghetti squash in long time, and was craving it after picking up a pretty little yellow thing at the farmers market for under a dollar.  I wanted to pair it with something other than marinara sauce though.  So after surveying the kitchen and thinking sunny thoughts, I came up with this!

Spaghetti Squash can be a fun and healthy alternative to eating pasta.  In this dish chicken breast is thinly pounded out, breaded and then baked with lemon slices as the squash roasts.  The "spaghetti" and breaded chicken breast are tossed together and finished off with a zested lemon cream sauce topped with basil.  The cream sauce is made healthy by using chicken broth and a just two tablespoons of light cream.  Simple fresh chopped basil compliment the bright lemon flavor.


Ingredients
serves 4

1 medium squash
1 lb of chicken breast, evenly pounded out
1 cup of whole wheat bread crumbs
1 lemon
1 tablespoon butter
1/2 cup chicken stock
2 tbsp light cream
1/2 cup grated parmesan cheese
1/2 tsp minced garlic
1 bunch of basil leaves
salt and pepper to taste

Method

Pre heat oven to 375 degrees.  With a fork, poke a few holes into the squash and bake for 1 hour.  (Be careful not to overcook squash since it will become too soft and soggy.)  While the squash in baking, pound out each chicken breast to about 3/4" thick.  Dip each chicken breast into an egg white and cover with bread crumbs.  Cover each piece of chicken breast with slice of lemon and place in glass baking dish.  Bake for 30-35 minutes until cooked through.  Discard the lemons and slice into smaller pieces. 


Transfer the baked squash to a large plate and set aside until cool enough to handle.  Cut the squash in half lengthwise.  Remove seeds, and then using a fork, scrape squash out of rinds and transfer to a large bowl.

To make the sauce:  In 1 teaspoon of butter, saute 1/2 a teaspoon of garlic and lemon zest over medium heat.  Add 1/2 cup of chicken stock, the juice of half of  a lemon and cook for 2-3 minutes and then lower heat.  Add the light cream and parmesan cheese.  Let simmer for 5 minutes until sauce is blended and slightly thickened.

Serve chicken over the spaghetti squash and top with the lemon cream sauce.  Season with salt and pepper and top with fresh basil.  Enjoy!


Follow me on Twitter @CheesePlease531

Tuesday, October 25, 2011

Zucchini Parmesan Crisps


These zucchini parmesan crisps are one of my favorite ways to eat zucchini.  In fact, coating them with parmesan cheese and "oven frying" them actually makes them taste nothing like a vegetable.  Sound fabulous?  They are.  They also make me ponder what else can I cover with cheese and bake.... 
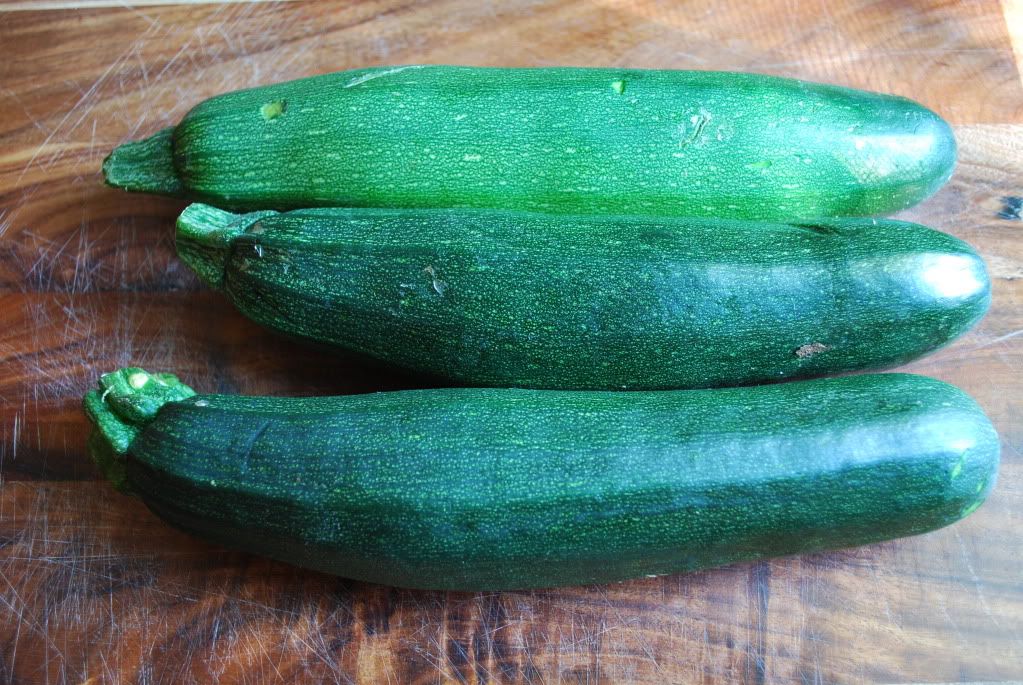
For the breading, I used a slice of whole wheat bread that I crumbled in my food processor.  But store bought bread crumbs or panko bread crumbs would also work.  Next time I think I would like to add some pepper jack cheese to give them a little bit of kick.   I served these hot straight from the oven as an appetizer, but you also could serve them with a marinara or ranch dipping sauce.  Either way, you can't go wrong.


Ingredients
Adapted from Ellie Krieger

2 medium zucchini (about 1 pound total)
1 tablespoon olive oil
1/4 cup freshly grated Parmesan
1/4 cup whole wheat bread crumbs
1/8 teaspoon salt
Freshly ground black pepper

Method


Preheat the oven to 400 degrees. Coat a baking sheet with cooking spray.  Slice the zucchini into 1/4-inch thick rounds.  In a medium bowl, toss the zucchini with the oil. In a small bowl, combine the Parmesan, bread crumbs, salt, and a few turns of pepper. Dip each round into the parmesan mixture, coating it evenly on both sides, pressing the coating on to stick, and place in a single layer on the prepared baking sheet.


Bake the zucchini rounds until browned and crisp, 25 to 30 minutes. Remove with spatula and serve immediately!

Follow me on Twitter @CheesePlease531

Thursday, October 20, 2011

Kid Friendly and Healthy Peanut Butter Pie


This past week I made a few of these healthy Peanut Butter Pie's for an group that I am involved with called Kids In the Kitchen (KITK).  Kids in the Kitchen is sponsored by the Junior League of Charlotte and we provide lessons and demonstrations of healthy meals and snacks in partnership with local community organizations, chefs and nutritionists.  It has been a really fun opportunity to get involved, and has also been a great way to engage kids in the preparation of healthy meals to educate them and their parents regarding nutrition and healthy choices.

This week we worked with a local program that provides a series of workshops for parents of preschool aged children on health and wellness.  The goal was to introduce a healthy, yet affordable and tasty dessert.  The workshop went really well, and the parents loved the idea of how simple it was to make a healthy dessert!  (My cooking demonstration on the other hand... let's just say that I am definitely not the next FoodNetwork Star... I'll be leaving this job to Giada)

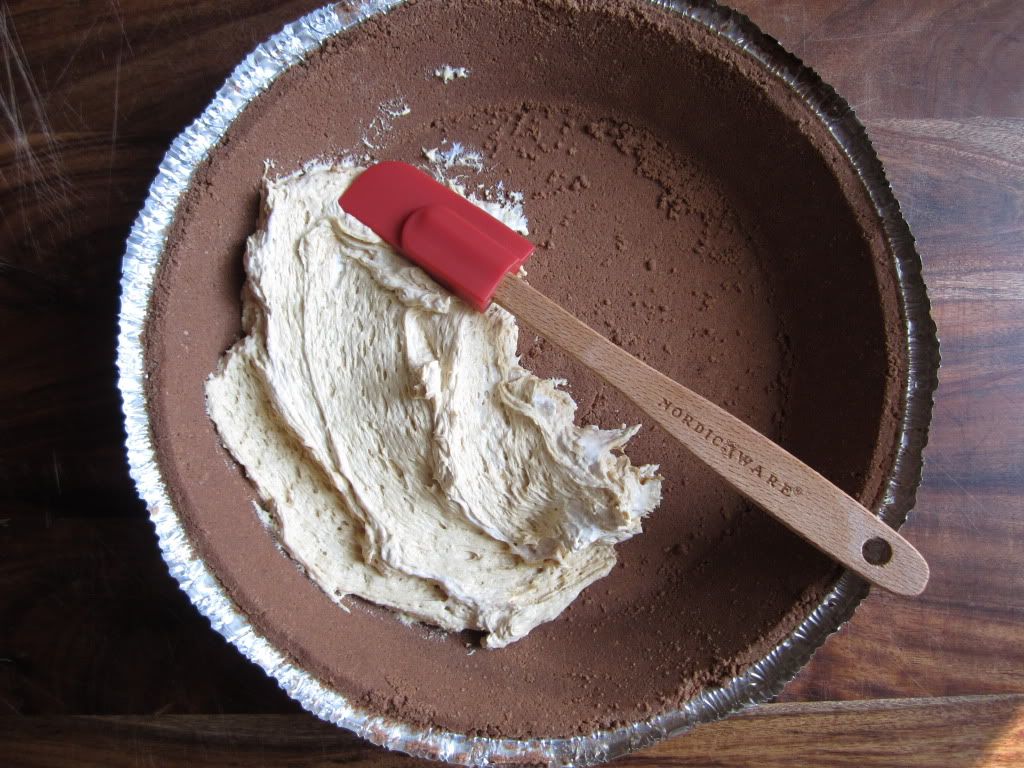
These healthy Peanut Butter Pies are not only extremely easy to make, it is extremely delicious for under 200 calories a slice.  I can't lie - this pie tastes like a Reese's Peanut Butter Cup. The chocolate graham cracker crust provides a cookie-like base for a whipped peanut butter filling.  Using natural peanut butter and light cool whip makes this healthier than the full fat versions.  This dessert recipe would be perfect for when your dinner party includes kids, or as an extra dessert for the holidays.

Ingredients
Serves 8

1 Chocolate Graham Cracker Pie Crust (pre-made and found at your local grocery store)
1 cup of Natural Peanut Butter (it is easiest to use the no-stir variety)
8 oz of Light Cool Whip
1 - 2 tbsp Sugar Free Chocolate Syrup for drizzling


Method

In a medium sized bowl, combine the peanut butter and cool whip.


Carefully fill pie crust by adding a couple spoon fulls at a time.  Using a rubber spatula spread filling evenly on pie crust.


Freeze for at least 30 minutes.  Remove from freezer and top with syrup in any desired pattern.  Have fun and enjoy!

Tuesday, October 18, 2011

Coriander Scallops with Orange Ginger Dressing


Did you know that coriander seeds come from a cilantro plant?  Who knew!  I certainty didn't. One of the things that I enjoy the most about cooking is trying new recipes and exploring new flavors.  Coriander being my latest adventure. 

While figuring out what to make for my husband and myself as a special dinner last weekend, I got really, really excited when I stumbled on this recipe that used coriander seeds.  Recently when I was wiping things down in the kitchen, and I noticed that we have never touched some of the spices that came with the spice rack we received as wedding gift.  One of these mystery spices was whole coriander seeds.  They smelled delicious, but I had no idea how of what to use them with.


Turns out coriander is the dried seed of a cilantro plant.  The seeds are round like tiny balls.  They can be used whole or ground up as a flavoring for food and as a seasoning. The flavors of coriander, orange and ginger really compliment the sweet scallops in this tasty dinner salad.


Ingredients
Serves 4

1 lb sea scallops, remove side muscles if need be
8 cups mixed field greens
1 naval orange, peel and pith removed, cut into segments between membranes
2 tbsp coriander seeds
1 tbsp cilantro leaves, chopped
2 tsp fresh ginger, peeled and minced
3 tbsp extra virgin olive oil, divided
2 tbsp rice wine vinegar
3 tbsp frozen orange juice concentrate

Method

Whisk juice concentrate, vinegar, 1 tablespoon oil, ginger, and cilantro in small bowl. Season dressing with salt and pepper.

In a resealable bag with a kitchen mallet, coarsely crush the coriander seeds.  Set crushed seeds on a plate.  Pat the scallops dry with a paper towel.  Sprinkle scallops with salt and pepper, then press both sides in coriander to coat. Heat 2 tablespoons oil in large nonstick skillet (I used my trusty cast iron skillet) over medium-high heat. Add scallops and cook until golden brown and just opaque in center, 1 1/2 to 2 minutes per side.

Divide the greens, orange, and scallops among 4 plates. Drizzle dressing over.  Bon Appétit!!


Follow me on Twitter @CheesePlease531

Sunday, October 16, 2011

Old Bay Grilled Chicken Wings


These are soooooooooo good, and perfect for watching football on a Sunday.  Chris and I, being from Maryland, practically grew up on Old Bay.  We have added it to many things, but when Chris threw some Old Bay on some chicken wings, my love for him grew even deeper.  Just kidding, but these are good, finger licking good as they say in the south.

I love the idea of grilling them because it is a much healthier alternative to frying them.  The key to grilling them is you have to watch how strong of a flame you are using.  The fat tends to drip down and cause flare ups as it liquifies.  


Even if you are not from Maryland you should still have a canister of Old Bay as one of your kitchen staples.  And then, when you are watching football and grilling on a beautiful fall day, throw some of it on your chicken wings and enjoy! 

Ingredients
serves 2

12 chicken wings
1/4 cup Old Bay seasoning

Method

Pre-heat grill.  Pat dry chicken wings with a paper towel.  Liberally cover wings with Old Bay.  Marinade the wings for at least 30 minutes.  Throw the wings on the grill at medium heat for 2 minutes on each side so skin gets crispy.  Reduce heat to low and grill for another 10-15 minutes. 


Follow me on Twitter @CheesePlease531

Wednesday, October 12, 2011

Mushroom & Goat Cheese Frittata - for the Ta-Ta's


This might be one of the best things I have ever made.  I am in love with this dish!  Who knew a frittata could bring so much deliciousness into your day?  I was inspired to make this because mushrooms prevent breast cancer (see below) and October is Breast Cancer Awareness Month.  Throughout October the world comes together and does a great job of bringing awareness to breast cancer.  You see the NFL donning hot pink additions to their uniform, fountains throughout major cities are dyed pink, and sky scrapers proudly light up pink.  In retail shops everywhere you are told to "think pink"by purchasing a variety of pink things.  All of these initiatives do an incredible job raising money and increasing awareness for prevention and the treatement of breast cancer.

Breast cancer prevention is something that is very important to me and is always on my mind.  Most of the women in my family have been diagnosed with breast cancer, all later in their adult life, so I know it is something that I am at risk for.  The disease affects one in nine women at some point in their lives and diet is thought to be a key factor.

I have found it very interesting that BreastCancer.Org and the International Journal of Cancer have both reported that early studies show eating a few ounces of mushrooms daily could prevent breast cancer.  Simply put, mushrooms interfere with the production of an enzyme that helps the body make estrogen which is essential to the disease.  Studies also show that if you drink green tea daily over a couple of years, your risk is decreased even more.

  
Hmmm, good thing I usually add mushrooms to our egg whites every morning and try to squeeze in a cup of green tea when I can.  I also have developed an obsession with mushrooms and frequently cook with them, as seen here, and here.  So in honor of Breast Cancer Awareness Month, I am sharing this mushroom frittata for the ta-ta's recipe!  Frit-ta-ta..... get it?  The addition of goat cheese and zucchini really made this stand out.  Now go brew a pot of green tea and make this for yourself or any of the women in your life!


Ingredients
Serves 6-8
Adapted from A Spicy Perspective


8 large eggs
1/2 cup skim milk
1 tbsp vegetable oil
1 cup white button mushrooms, sliced
1 large shallot, minced
1 small garlic clove, minced
1 small zucchini, chopped
3 oz soft goat cheese
1/4 cup green onions, for garnish
Salt and pepper to taste


Method

Preheat oven to 350 degrees.  Preheat a caste iron skillet to medium-high.   Add 1 tablespoon of vegetable oil and the chopped shallot to the skillet.  Cook for 2 minutes, then add the garlic.  Add the mushrooms and saute for 5-10 minutes until cooked thoroughly, and then add the zucchini for another 2-3 minutes.  Transfer veggies to a plate.

In a large bowl, whisk together the eggs and milk.  Season with a few pinches of salt and pepper.  Pour the egg mixture into the skillet, and then add the veggies.  Crumble or slice the goat cheese and add to the top of the mixture.   

Transfer skillet to the oven and bake for 15-20 minutes or until cooked through.  Serve for breakfast, brunch, lunch or dinner with a side of greens.  Enjoy! 

Follow me on Twitter @CheesePlease531


Sunday, October 9, 2011

Roasted Mediterranean Vegetable Soup


After a week of eating very, very well at my parents house and indulging in a bit too much vino, I had to make up for it by making something healthy. Usually after a long weekend or short get-away, I turn to soup and try to pack as many green leafy things into it as I can. I have to admit, I don't yearn for heaps of sauteed kale, steamed broccoli or just plates of simply cooked vegetables. (Seriously, who does?)  I love eating healthy, but unless I am eating my veggies raw in a salad or I cover them with cheese, I just don't love them. Then I discovered that adding spinach, swiss chard, etc to basic soups actually tastes good and it bumps up the nutrient content. Problem solved! I have been doing this for the past year now and for me, it is a great way to eat my veggies.

This soup is a different take on my trusty chicken broth and greens detox. I went nuts at the farmers market and came home with a variety of vegetables. Roasting the vegetables in the oven gives this soup an intense, rich flavor, kinda reminiscent of ratatouille. After roasting, I used a food processor to chop them up to a salsa like texture.


This soup is filling, tasty and most importantly good for you. Chris and I have been eating it for days! It heats up easily and is perfect to take to work for lunch or have on a lazy dinner night.

Ingredients
Serves 6

2-3 tbsp olive oil
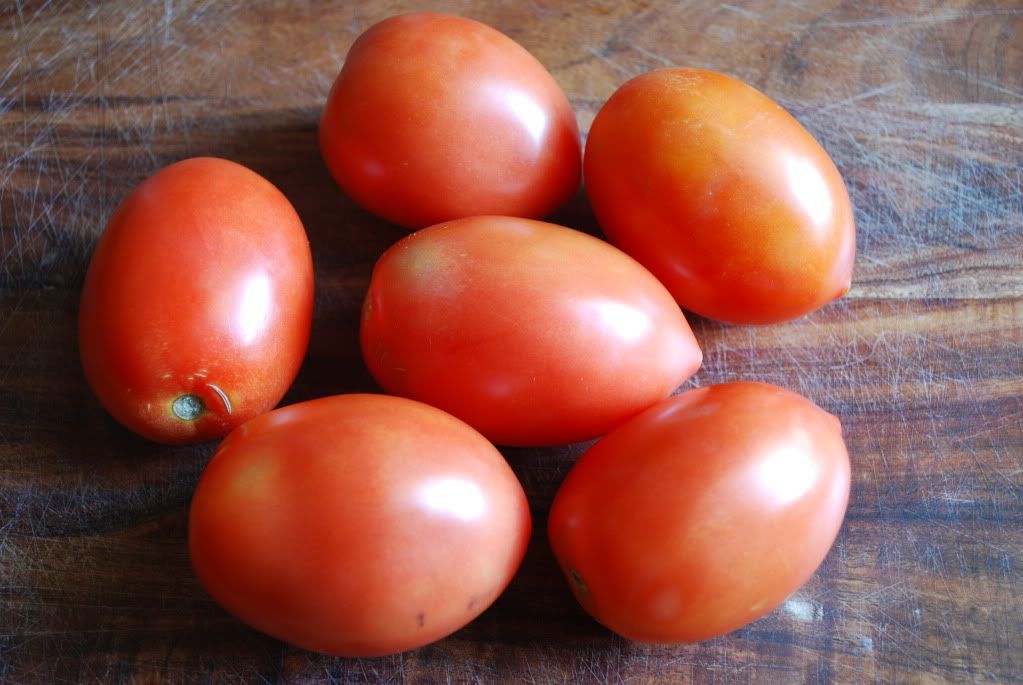
1 lb ripe roma tomatoes
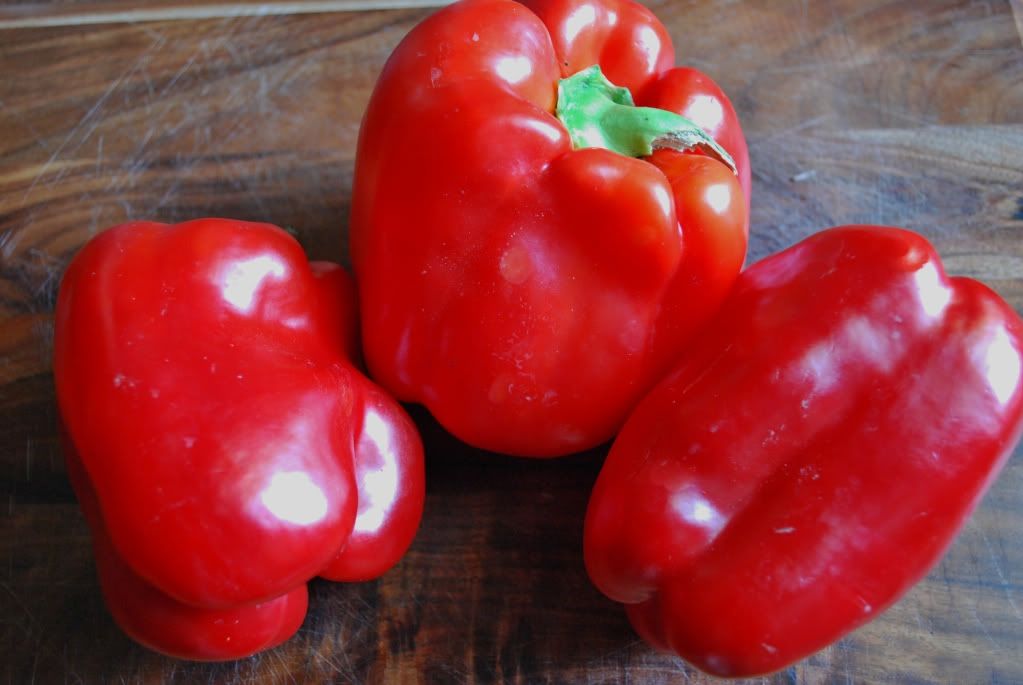
3 large red bell peppers, halved, cored and de-seeded
3 zucchini, halved lengthwise
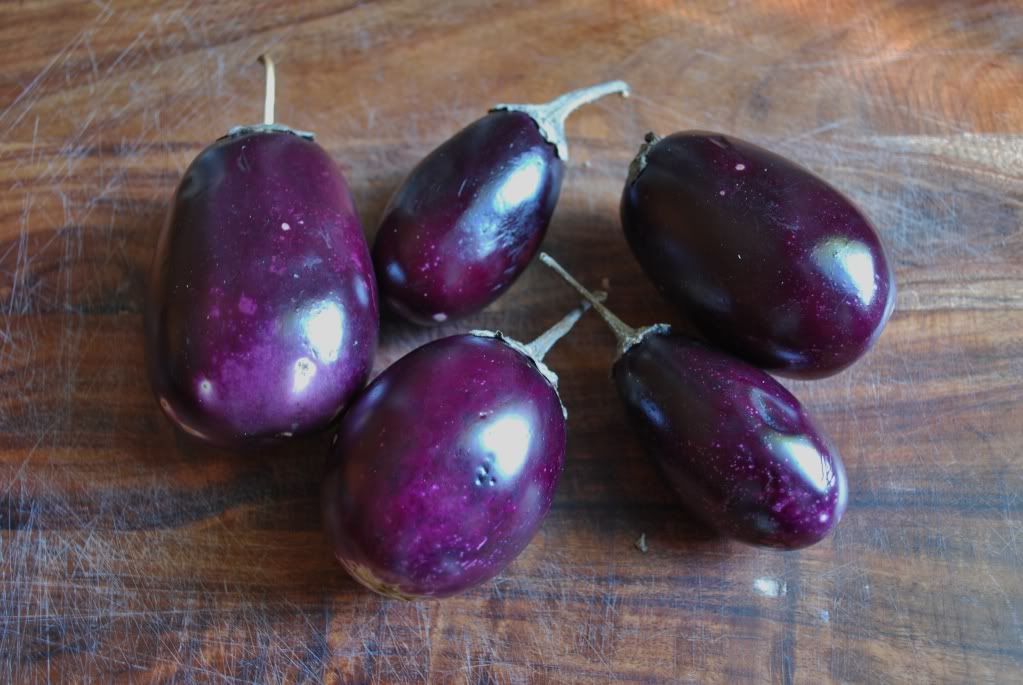
1/2 lb baby eggplants (or 1 small eggplant), halved lengthwise
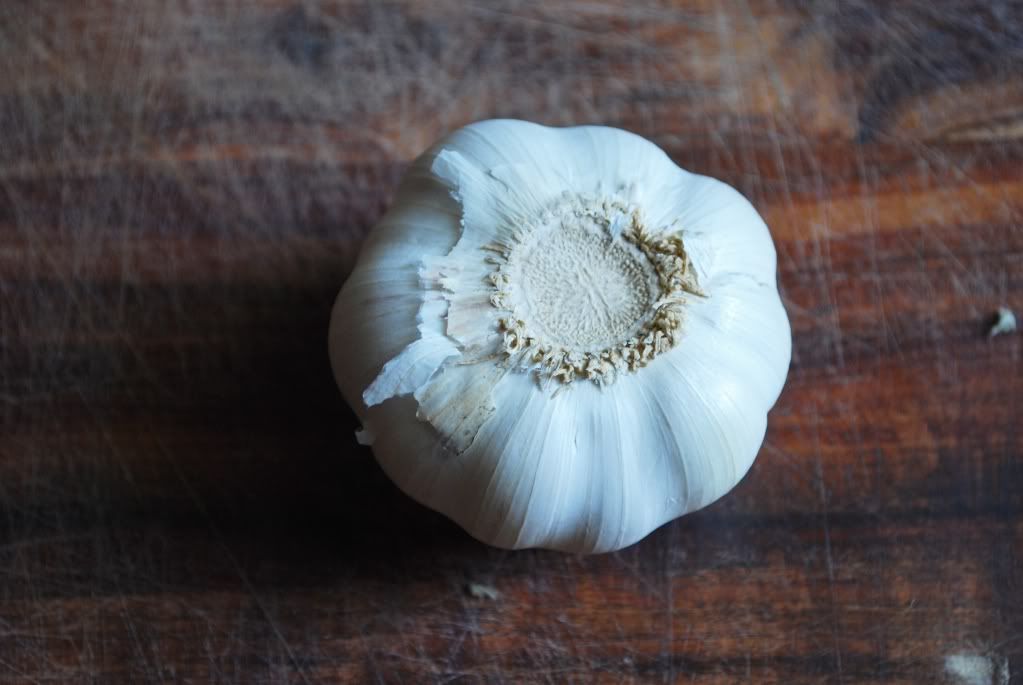
4 garlic cloves, halved
2 onions cut into eighths
pinch of dried thyme
4 cups chicken stock (I used 99% fat free)
1 tsp salt
1 tsp pepper
shredded basil leaves, to garnish


Method

Pre heat the oven to 375 degrees. Brush a large shallow baking dish with olive oil or use an olive oil mister. Laying them cut-side down, arrange the tomatoes, bell peppers, zucchini, and eggplants in one layer (use two dishes if necessary).

Tuck the garlic cloves and onion pieces onto the gaps and drizzle all the vegetables with olive oil. Season lightly with salt and pepper and sprinkle with thyme.

Place the dishes uncovered in the oven and bake for 35 minutes, or until soft and browned around the edges. Leave to cool, and then scrape out the eggplant flesh and remove the skin from the bell peppers (doesn't have to precise).

Working in batches, put the eggplant, bell peppers, tomatoes, and zucchini in a food processor to chop to the consistency of salsa. Be careful to not puree. (Alternatively just chop the veggies with a knife).

In a large sauce pot, combine the chicken stock and chopped vegetable mixture and simmer over medium heat for 20-30 minutes until all the vegetables are tender and the flavors have completely blended. Add extra thyme, salt of pepper if needed and garnish with the basil and serve. Enjoy!

Follow me on Twitter @CheesePlease531

Thursday, October 6, 2011

Simmered Italian Sausage & Meatballs


This past week I made the long drive up to Maryland and surprised my Mom for her 60th birthday.  It was really exciting to have the whole family in on it and totally catch her off guard!  She totally burst into tears when she opened the door and unexpectedly found me and one excited puppy.  I just love a good surprise!

During my visit I made sure to incorporate my favorite hometown classics into each meal.  I enjoyed Maryland crab soup, crab cakes, crab stuffed rockfish and my favorite, classic steamed Maryland crabs.  But despite all the different crab dishes, the one that stuck out the most my Mom's Simmered Italian Sausage and Meatballs.  Soooo good!!!  Her sauce is kept light with the addition of crushed tomatoes and seasoned by the rich flavor of the Italian sausage.  The homemade meatballs are inspired from a favorite meatloaf recipe which uses a combination of ground beef and ground pork... delicious.

My Mom has been making versions of this meal for as long as I can remember.  As a kid she would start preparing this on an early Sunday morning and by the afternoon we would all be digging in.  This meal is perfect for when you want to stay in your pajamas past an acceptable hour, where a formal dinner is out of the question, and when multiple mini meals are savored throughout the day.  Enjoy!

Note: A lot of people may not have time/attention span to commit to making a pot of sauce from scratch.  A perfectly acceptable and easy alternative is to use a good quality pasta sauce and add the various ingredients below like we did last Sunday.  


Ingredients

For the sauce:

1 lb mild Italian sausage, halved
3 24 oz jars DeCecco pasta sauce (or your favorite high quality marinara)
1 28 oz can of Roma style crushed tomatoes
1 small yellow onion, chopped (about 1/2 cup)
1 tsp sugar
1 tbsp extra virgin olive oil

For the meatballs:
Makes about 30 2" meatballs

1 lb ground beef (85% lean)
1 lb ground pork
1/2 cup of sauce (from this recipe)
1 cup Italian bread crumbs
1/2 cup of freshly grated parmesean
2 eggs lightly beaten
A couple of fresh basil leaves for garnish


Method

For the sauce:  Saute onion in 1 tbsp of olive oil.  Add the crushed tomatoes and 3 cans of marinara sauce.  Heat on medium-low heat till you get a slight simmer.  While simmering, add the uncooked Italian sausage into the sauce. 


For the meatballs:  Pre-heat the oven to 450 degrees.  In a large bowl, mix all of the ingredients together.  Line a baking sheet with non-stick foil.  Using a cookie scoop or your hands, form meat into 2" balls.   Bake for 10 minutes until the outside is browned.

 
To put it all together, add the meatballs into sauce and let simmer on low for at least one hour, but up to three hours.  Serve alone with crusty Italian bread, or over al dente penne pasta... or both!


Lastly thanks to my Mom for spending some time in the kitchen with me and passing down this yummy Italian recipe....... it doesn't get better than this!

Be sure to follow me on Twitter @CheesePlease531